Sage is truly among the most versatile of herbs. Aside from being considered essential in the culinary world, it’s become quite a popular choice among those into essential oils. With that, it’s clear that there are benefits to drying sage—and this is something you can actually do at home.
Drying Sage – Easy Methods
Before the drying process
Before drying sage, you’ll have to follow a few important steps.
First of all, carefully remove the stalk of the sage you’ve bought or harvested. There’s no need for scissors here—simply pull the leaves gently and you’re done.
Now, inspect all the leaves you’ve collected. Remove anything with the slightest sign of blight. Those wilting or dying parts will lower quality, aside from possibly affecting both safety and shelf life. Besides, leaves with signs of damage won’t taste as good.
Once you’re done checking for blight, it’s time to look closely at the leaves. If you see insects crawling on a leaf, you should discard it immediately. Don’t forget to check for webs and eggs as well. Keep in mind that insect eggs often appear as tiny white spots on a leaf’s underside.
Finally, put all the remaining leaves in a food strainer. Put them under cool running water for a few seconds. Shake off the excess water and arrange the leaves on a clean piece of cloth—ideally something made of absorbent material.
Drying sage in the food dehydrator
One of the easiest and most reliable ways of drying sage is to use a food dehydrator. Regardless of the device that you have at home, make sure that the racks you’re going to use are completely clean and dry. Moisture and contaminants can lower quality and shorten shelf life.
- After making the necessary preparations, carefully arrange the leaves on the rack. Make sure that there’s enough space between the leaves. There shouldn’t be any overlapping parts as these could lead to uneven drying and may prolong the entire process.
- For the settings, just follow the instructions or recommendations that came with the food dehydrator. If there’s none, it’s best to set the temperature anywhere between 95 to 115 degrees Fahrenheit. You may need to pick a higher setting if you’re trying to compensate for the humidity.
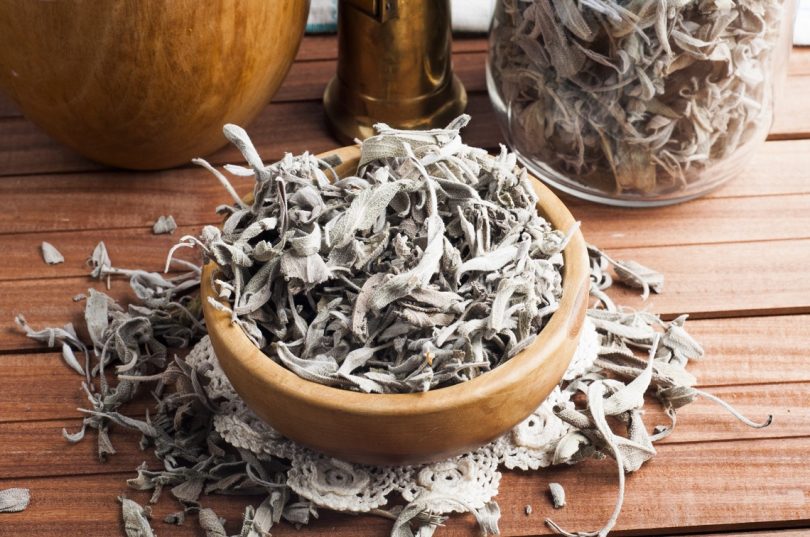
Once you’ve put the rack back in and chose the correct settings, you’ll only have to check back every hour. Sage typically takes around four hours to dry. Still, you’ll know it’s ready when the leaves easily crumble. At that point, the only thing you need to do is put them in an airtight jar.
READ ALSO: Which Food Dehydrator is Right for You
Drying sage through hanging
If you prefer a much simpler method, this one should be perfect.
- The first step in hanging dry your sage leaves is to tie several pieces together. Aim to form bundles of five to ten leaves each. What should you tie them with? Well, anything will do—as long as it can hold the leaves together.
- Now that you have the leaves ready, hang them (indoors is fine) facing downward. Cover each bundle in perforated paper bags, or you could use a thin sheet of muslin. Remember not to cover the leaves too tightly. Air should still be able to pass through.
Here’s the downside with this method: it takes longer than any other means of drying sage. Assuming that there’s relatively low humidity where you live, the entire process could still take up to ten days. Of course, it’ll take longer with relatively high humidity.
Actually, if it’s really humid in your area, you shouldn’t go for hanging or air-drying. Aside from the possibly longer duration, there’s a much bigger chance of mold forming on the leaves. That’s also the reason why plastic bags aren’t recommended for use as cover, given that they trap moisture.
How would you know that the leaves have properly dried? Just like with the previous method, simply check whether they’ve become crumbly. They should be crisp enough to be easily crushed by hand. Don’t forget to store the leaves in an airtight jar.
Drying sage in the oven
If you have a conventional oven at home, you could use it to quickly dry your sage leaves.
- Get a sufficiently sized tray and cover it with muslin. Carefully place the leaves on the tray, making sure that there’s enough space between each piece.
- Again, this is to prevent uneven drying and to keep the drying time as short as possible. At this point, put the tray in the oven, which should be set at the lowest setting. Don’t close the oven door completely—after all, the goal here is to let moisture escape.
- After half an hour has passed, flip the leaves over. This ensures that they’re completely dried after the process.
Your sage should be ready once you’ve reached the one-hour mark. Let them cool inside the oven before putting them in an airtight container.
Drying Sage – Tips for Proper Storage
While the general recommendation is to store the leaves in an airtight jar, there are a few things you need to keep in mind. First, the container shouldn’t just be airtight—it must be completely clean and dry. Any dirt or moisture left in the jar will affect the quality of your dried sage.
Another thing to remember is to keep them away from direct sunlight. If possible, put the containers (with the dried leaves in them) inside the cupboard. If that’s not an option, you could use dark-colored jars that prevent light from reaching the contents.
No matter how properly you’ve followed the drying instructions and regardless of how good the containers are, do regular checks for mold. For the sake of safety, don’t hesitate to discard entire batches if have developed signs of mold.
READ ALSO: A Complete Guide on How to Store Dried Herbs
Those who frequently dry their herbs will tell you that most of the methods you’ve read here aren’t only applicable to sage. So, consider trying other popular choices, such as parsley. Drying sage is only the beginning—with enough enthusiasm, you’ll soon have a collection of herbs ready for use.